
How to Build a Store with Shopify | 2024 Tutorial
With cross-border competition heating up, whether you sell on Amazon or AliExpress you'll want an independent store as backup against unpredictable policy shifts. Building on Shopify became a priority for many sellers in 2024. This article covers the initial configuration. If you haven't registered yet, do it now — the first days cost nothing and all you need is an email address.
Registered? Then read on.
Configuring your Shopify store
Once your store is registered you're in the Shopify admin.
Next, configure the basics:
1) Products, domain, theme:
A. Add products: If you already have products, import them; if not, skip for now.
B. Domain setup:
Shopify offers several options: buy a new domain or connect an existing one. If you don't have a domain yet, this guide walks through buying one.
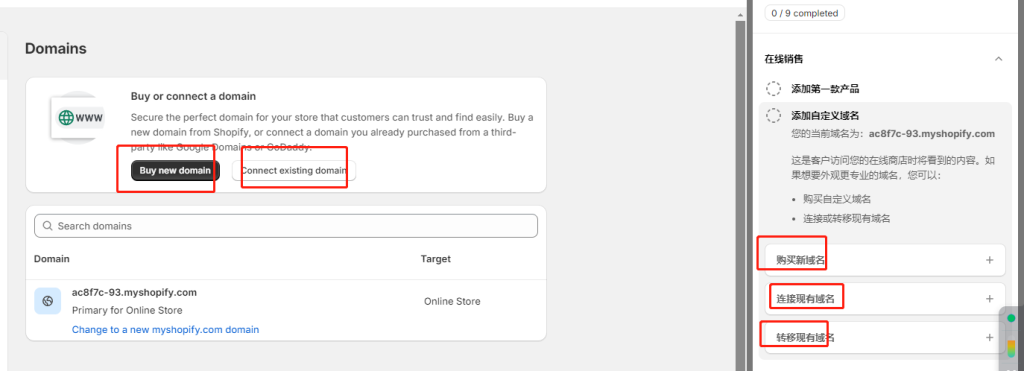
Connecting a domain to Shopify
C. Logo, store name, theme:
Customize the logo and name to fit your brand — all editable later. The simplest route is an official template.
Shopify currently offers 13 free themes; pick one you like. They're fairly basic — for a polished brand look you'll eventually want a paid theme or apps. See the theme guide for details.
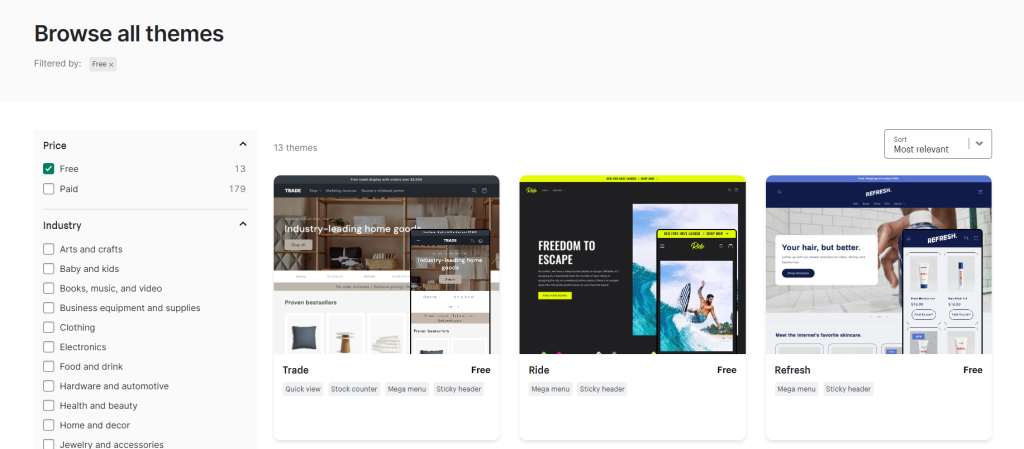
Default Shopify themes
2) Shipping, payments, plan:
A. Store name: Whatever suits you — it's internal, not public-facing.
B. Shipping rates: If you already have a clear pricing plan, configure it; otherwise leaving it empty is fine.
C. Payment providers: Online payments split into two kinds: online payment gateways and credit-card gateways. Customers order through these gateways, and you collect through them.
1. Online payment gateways: Tools like PayPal, Alipay, WeChat Pay. Shopify supports PayPal by default — just activate it. (Note: it activates the PayPal tied to your signup email; log in to switch to the account you actually want.)
2. Credit-card gateways: Most overseas customers pay by card, so supporting cards converts better.
Shopify supports many gateways, with regional restrictions. Mainland-China-friendly options include PingPong and Oceanpayment; Hong Kong has Payoneer and Airwallex; internationally there's Stripe, 2Checkout and others. Shopify's own Stripe-powered Shopify Payments requires a US entity.
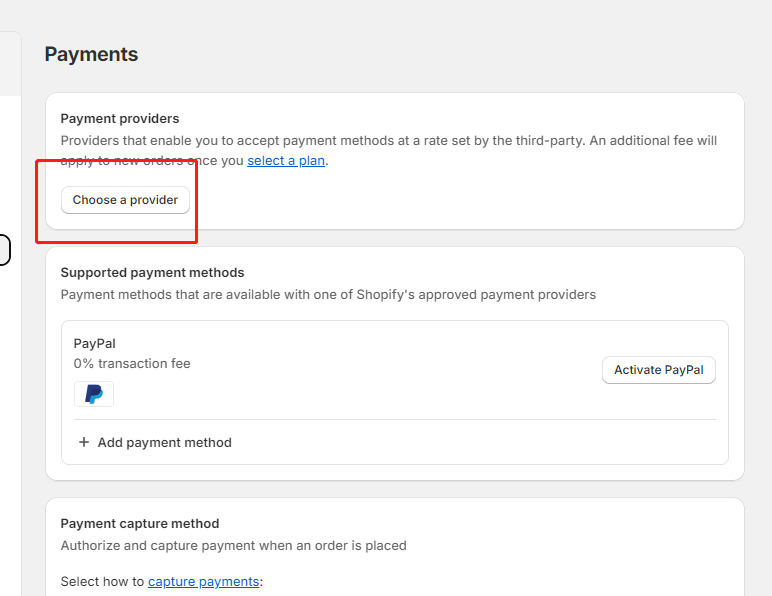
Connecting PayPal to Shopify
D. Pick a plan
Generally: pick the cheapest. After the trial, aim to polish the store and get promotion running within 3 months.
3) Test the store
Usually nothing breaks. If you want to test, switch payments to manual/COD so you can avoid the whole pay-and-refund dance.
That's it — your Shopify account and store are set up!
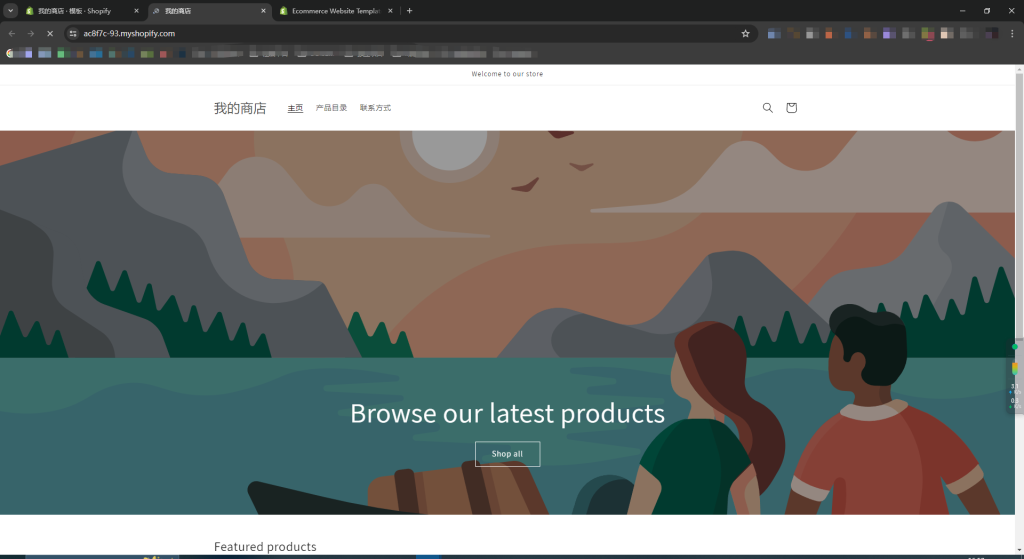
Shopify setup complete
With the base configuration done, you can move on to styling the store.
FAQ
- How hard is it to build a Shopify store, and how long does it take?
- With zero experience you can finish the basic setup in a day — configure products, domain and theme, then shipping, payment gateways and plan, and finally test the store before moving on to styling.
- Do I need a domain before building a Shopify store?
- No. Shopify lets you buy a new domain or connect an existing one, and you can start on the default domain and bind your own later.
- Which payment options does Shopify support?
- Two kinds — online wallets like PayPal (supported by default, just activate it) and credit-card gateways such as Stripe or 2Checkout overseas, or PingPong and similar services in China. Shopify Payments itself requires a US company.
- Which Shopify plan should I pick first?
- Start with the cheapest plan, optimize the store within about three months after the trial while starting promotion early, and upgrade once order volume justifies it.